
Getting Started with Night Sky Photography
New! My eBook, The Complete Guide to Milky Way Photography, is now available! This 300+ page book covers this topic in depth, as well as many others, and is a wonderful resource for learning to shoot the Milky Way. Take a look!
So - you want to get into night sky photography? That's awesome! I get this question a lot on social media and on email, so I thought I'd put together a short article about how to do just that. Here, I'll break down the absolute basics of what you need to get started, and hopefully give you the inspiration and tools you need to get out and shoot for yourself. I'll be walking you through four key areas:
Gear
Planning
Technique in the field
Post-processing at home
Ready? Let's get started!
What gear do you need?
This is the first question people usually ask when they want to get into night sky photography. The answer is a bit complex, but basically boils down to the following points. You need a camera setup that:
Can be manually focused, since autofocus doesn't work well at night.
Can shoot in manual exposure mode, where you control the aperture and shutter speed, since the camera won't do a good job of this.
Can be placed on a stable surface, like a tripod.
Anything that meets these three criteria can work, which brings me to my first point: if you already have a camera, start with that! Don't rush out and buy the latest and greatest, or anything new for that matter. Learning night sky takes patience and practice, and you might as well learn on the gear you already have. In fact, if you buy the "best" camera you might find it to be frustrating if you aren't familiar with the various controls and such. Note also that a smart phone can be a camera that fits these criteria, if you have the right phone and the right apps. Smart phone night sky photography is not my area of expertise, unfortunately.

Milky Way example (Pine Mountain Observatory, Bend, Oregon)
If you don't have a camera and need to buy something, you'll want to evaluate it in terms of the above criteria. The thing to remember is that for all the fancy innovations in cameras today, they needs lots of light to work well, and you don't have that at night. So, you have to be smarter than your camera, which is why you'll see the word "manual" appear a lot in this article.
The first item to consider is manual focus. You are probably used to pushing your shutter button halfway down on your camera to focus before taking a picture, or if you are shooting during the day on a DSLR you might be using back-button auto focus. At night, auto-focus is tricky and doesn't work well. The reason is that your camera needs contrast to auto-focus, and there isn't a lot of that at night in a very low light environment. As such, you'll need something that can be focused manually. This is almost never a problem on cameras with interchangeable lenses (DSLRs, mirrorless, etc.) but can be a problem on some point and shoots, especially on the lower end.
The next thing you need is the ability to shoot in a manual exposure mode, where you control the aperture and shutter speed yourself. Normally your camera does some or all of this automatically for you, especially if you are shooting in an automatic mode. Your camera will do something called "metering" the scene, in which it tries to determine the optimal aperture and shutter speed for the scene. The trouble at night is that the camera often gets this wrong since the scene is so dark, and the camera has no idea that the stars are in motion, which we'll talk about more below. So, you'll want to use your camera's manual exposure mode here. Again, manual modes are not a problem on interchangeable lens setups, but may not exist on some point and shoots. Note that to get started, you don't need to shoot longer than 20 or 30 seconds, so don't worry if you can't shoot longer than this.
Finally, you need a stable place to put your camera. Your 30 second exposure will look like a blurry mess if you hand hold your camera, or even touch it while it is exposing. As such, you'll need a tripod, or something else very sturdy to place your camera on. Tripods are tricky because you can spend as little as $50 and as much as several thousand dollars on them, and most of the advice you'll get on these will suggest buying the most expensive tripod you can afford so you don't have to re-buy it later. I'd argue though that for someone just getting started, an entry level tripod with a ball head is perfectly fine. Make sure that the tripod is rated to hold your camera setup - tripods have a "max weight", and typically you'll want one that holds about 2-3 times as much as your camera setup weighs, to account for things like wind and just added stability.
If you really love night sky work and decide to invest time in this area, you'll need high quality gear. Night sky is one area of photography where you are pushing your camera's technical capabilities to their limits. For now if you are getting started, what you have or can afford will work, but know that this is addictive and the high end gear is expensive. Sorry!
What planning is required?
Like most forms of photography, some planning is needed in order to ensure you get the shot you want. The first question you need to ask yourself is what do you want to shoot? Scattered throughout this article are some examples of different types of night scenes you can shoot. Based on what you want to shoot, you'll be looking at very different parameters:
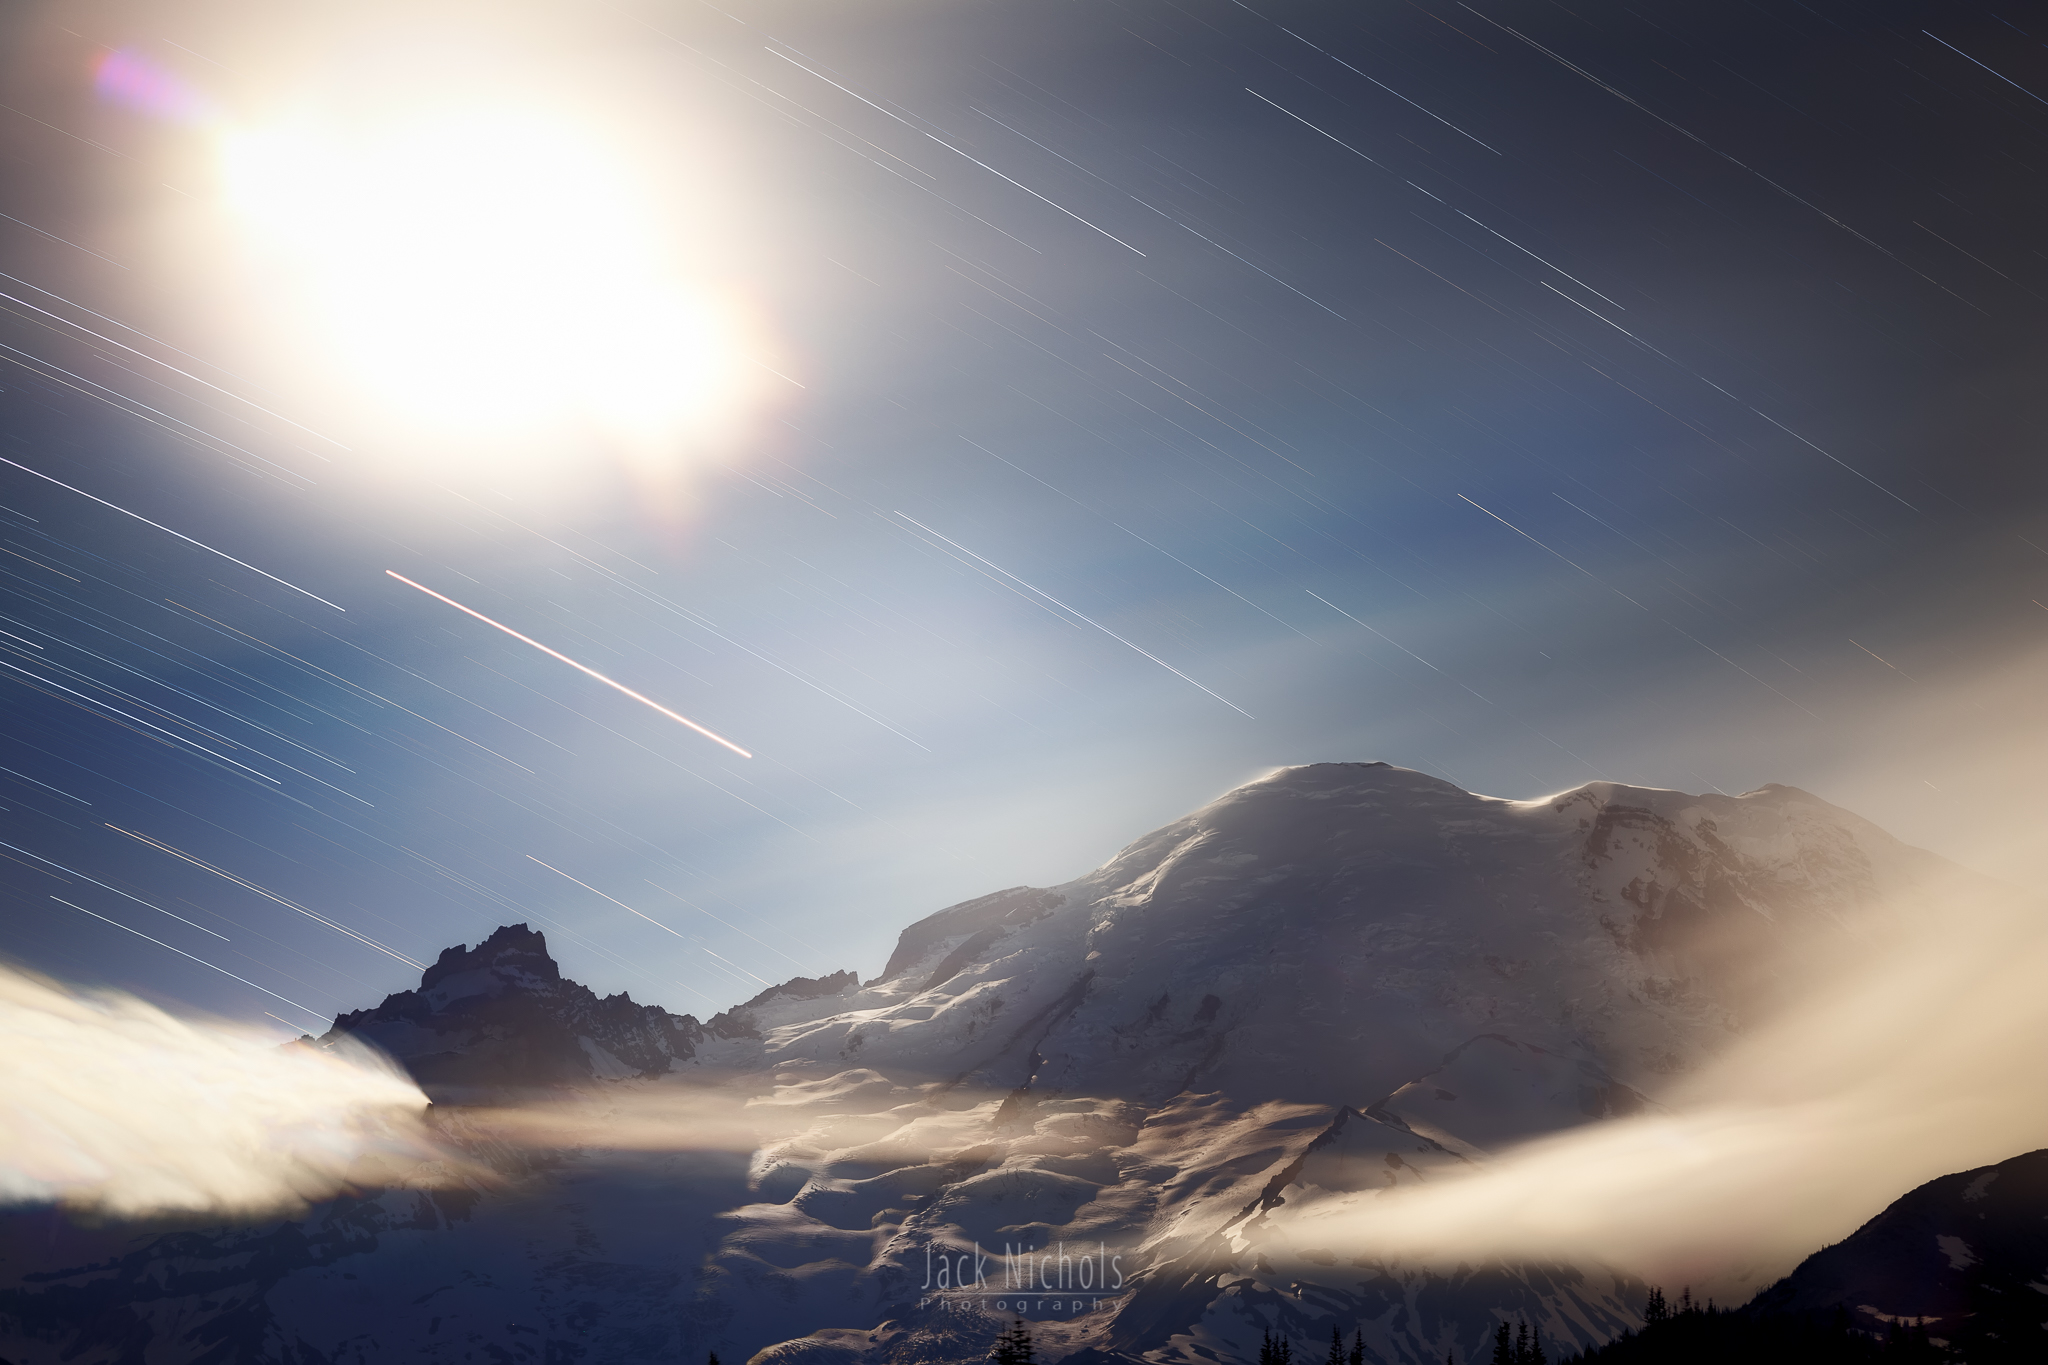
If you want to shoot Milky Way, you need somewhere very dark, and with a southern view of the sky. You also need to plan for time of year (the Milky Way core is best seen from roughly March to October in the northern hemisphere, and about a month on either side in the southern hemisphere).
If you want to shoot aurora, you need somewhere far enough north to see the lights. This may involve travel if you aren't located in the right part of the world. Additionally, the further you go north, the more variation in length-of-day as the seasons go by, so you need to plan for time of year here too. At locations north of the Arctic Circle, for instance, the sun is up 24 hours a day during the summer, so you won't see the aurora then. For this reason, most people aurora hunt in the winter.
If you want to shoot star trails, you usually need very clear skies, but don't need any particular location or time of year, as they can be shot anywhere and anytime. You do need to consider what kind of trails you want. If you want the concentric circles around the pole, you need to be facing north (or south in the southern hemisphere). If you want other shapes of the stars in the sky, you'll want other directions.
If you just want to shoot nightscapes, you can do this anytime, anywhere, depending on what your vision is. For instance, a mountain with stars behind it will of course require a mountain, but if the specific stars aren't important you can shoot that any time of the year. You might also choose to highlight a certain constellation, which requires planning for the right time of year. In most cases though, it becomes more like landscape photography where you are scouting locations, but just shooting them at night.

Aurora example (Jasper National Park, Alberta)
A big consideration for all types of night sky photography is the weather. Some types of shots require very clear weather, whereas this is not important for other shots. For example, Milky Way usually requires clear weather, but you can also choose to incorporate some clouds if they are present in your shot. An overcast sky though won't work at all, but some high level fog can actually enhance your photo and make the stars glow. Personally, I find some clouds add interest, especially if there is nearby light pollution to light them up, and I love the high level fog for the glow effect on the stars.
Speaking of light pollution, you also need to consider how dark your skies need to be. If you are in a city, you won't be able to see many stars, and in fact your camera will quickly overexpose the sky even with short exposures. The fainter your subject, the darker your skies need to be. For this reason, if you are shooting Milky Way, you need to be in the darkest skies you can be in, since the Milky Way is quite faint. For aurora this is less important, but becomes more important the further south you are since the aurora can be very bright near the poles. As mentioned previously, light pollution can also be used for creative effect too.
One form of light pollution you can't always get away from is the moon. The full moon can easily wash out even the darkest of skies. If you are shooting Milky Way, you'll probably be doing so outside of a full moon. A new moon provides the darkest skies, but if you want to incorporate some foregrounds into your Milky Way shot, it can be better to go during a 1st or 3rd quarter moon, depending on the time of year. For other types of night sky shots, the moon can be beneficial as it provides light to the landscape - this is especially true with aurora. Using apps like Stellarium or Star Walk can be helpful to plan where the moon will be in relation to your subject.
What do I do in the field?
Once you have all your gear and have done all your planning, it's time to go shoot! When you're in the field, there are a couple of things that are important to be aware of.
First up is safety. You're likely to be somewhere dark, and it's easy to take a wrong step and trip. Be aware of your surroundings, and bring along a headlamp or flashlight to light the way as you move around. You also need to be aware of the other objective hazards of your location. Are there large cliffs or other terrain where a fall could be fatal? Are there animals that might pose a threat at night? Are there other people around that could present an issue with gear security (e.g. theft)? Be aware, plan ahead, and be safe.
Next, consider how you organize your gear in the field. It's really easy to set something on the ground and forget it's there. I am meticulous about making sure everything is somewhere that isn't the ground - attached to my tripod, in a pocket, around my neck, or in a bag. No exceptions. I also have a little routine of "sweeping" the area with my light for a minute or so when I'm about to change positions, just to make sure I didn't leave something on the ground. You'd be surprised how easy it is to lose something - black lens caps are pretty hard to see at night!
Now let's consider the actual shot. There are three steps you need to take: get your gear set up, get focused, and shoot. Getting your gear set up is as easy as attaching your camera to the tripod, but be careful to make sure the camera is securely attached and the tripod is locked before you let go of it. It's pretty easy to accidentally have your camera slotted in only half of the top of the ballhead, or forget to lock a tripod leg. It's not fun to forget these things and watch gear go tumbling to the ground!
The next step is focusing. This is a challenge for many folks, and I'll admit it takes practice to learn to do well. Usually, your goal is to get focused on the stars, so that they are as sharp as possible. I always manually focus in the field, as it's the most reliable method in all conditions. Here are the steps I follow:
Point your camera at the brightest star you can find in the sky.
Configure your camera appropriately:
If your lens has focusing markers, set it to infinity, or near infinity, to approximate where focus should be.
If your lens has a manual aperture ring, open it up all the way (smallest f/stop), to let in the most amount of light.
Disable auto-focus on your camera and/or lens. Some lenses have AF/MF switches which you can turn to "MF" to disable auto-focus. Some cameras have an option to disable auto-focus in body. The best thing to do on a DSLR is to configure back-button auto-focus, but that's the scope of another article.
Turn on RAW shooting mode if you are not already doing so. JPEG is not sufficient for night sky as you need wide latitude in post processing, and RAW provides that.
Turn on Live View mode on your camera. On a DSLR, this flips the mirror up so you can see the image on the LCD. On a point and shoot, and most mirrorless cameras, the camera will always show the image on the back LCD.
Using the controls on your camera, zoom in to the image on the LCD. Don't use the zoom ring on your lens, or the "T/W" button your camera to zoom the lens. You want to magnify the image on the back of the LCD without affecting the picture that's actually coming through your lens.
Once you are zoomed in, find the bright star and center it on the LCD.
While watching the star on the LCD, slowly turn the focus ring on the lens, until the star gets sharper and sharper, and eventually passes peak focus and begins to get blurry again. When you see this happen, stop and go back the other way. Continue to "rock" focus around the star, each time approaching peak focus and backing off when it begins to get blurry, but with less and less tolerance each time. Do this until your star is as sharp as it can be.
One trick you can use to know if you are focused is to watch the area around your star. As you approach peak focus, smaller, dimmer stars will appear around your main star. These stars will go away very quickly as you move away from peak focus. Even if they are just a blur on your LCD, seeing these smaller dimmer stars appear and disappear is a good sign you are close to peak focus.
Now adjust your camera settings as follows. Choose manual exposure mode, set the highest ISO you can, the widest aperture you can (lowest f/stop), and a shutter speed of around 1-2 seconds. Take a picture, using a cable release or the 2 second timer if possible to minimize camera shake from touching the shutter.
Enter review/playback mode on your camera, and zoom in on the picture, specifically the star you focused on. Confirm that focus looks good. If not, return to step 6 and repeat these steps until it is.
If everything looks good, you're now free to compose your shot.

Nightscape example (Yellowknife, NWT, Canada)
Once you have your lens focused, don't touch the focus or the zoom rings. If you do, you'll need to repeat the steps above again. I also encourage you to repeat steps 6-8 often throughout your session, as a variety of things can affect your focus, including things like temperature or weather changes. Definitely re-focus if you move your camera, as the movement can throw off focus. It never hurts to double check focus, and as you are learning, more practice is better!
Now that you're in focus, you've done the hard part! It's time to take your picture. Put your camera in manual exposure mode if it isn't already, and adjust your camera settings based on the following guidance:
Milky Way: Use a phone app like Star Walk to find the Milky Way in the southern sky. You generally want pinpoint stars to preserve detail, but since the stars are moving (since the earth is turning) you'll need to set a short enough exposure so they don't trail too much. The focal length of your lens will govern the maximum shutter speed you can use. A good rule of thumb is the rule of 500: max seconds = 500 / focal length in mm. So, a 24mm lens would be 500/24 = 20.8 seconds, or around 20 seconds. Some example guidance for popular focal lengths is below. Try them and experiment to find the best settings for your situation - if the image is too dark, adjust until it isn't:
14mm or 16mm lens: max exposure time of 30 seconds. At f/2.8, try ISO 3200. At f/4, try ISO 6400.
24mm lens: max exposure time of 20 seconds. At f/1.4, try ISO 3200. At f/2.8 or slower, try ISO 6400.
35mm lens: max exposure time of 14 seconds. At f/1.4, try ISO 3200. At f/2.8 or slower, try ISO 6400.
50mm or longer: max exposure time of 10 seconds. At f/1.4, try ISO 6400. At f/2.8 or slower, try ISO 12800. At this focal length and longer though you need to be tracking, stacking, or both, which is an entirely different topic outside the scope of this article.
Aurora: Most of the time you'll find the aurora in the northern part of the sky. Pinpoint stars are less important than the brightness of the aurora. For very faint aurora, or aurora very far south, you should start with the guidance in the Milky Way section. For bright aurora, the main challenge is not losing the definition of the aurora as it moves. Long exposures can make your aurora look like a blob of color, and you can even overexpose. With bright aurora, try 2-4 seconds. If that's too dark, try 8-10 seconds. I usually shoot aurora between f/2 and f/4, most often at f/2.8.
Star Trails: The explicit goal here is not to get pinpoint stars, so you don't need to worry as much about high ISO and fast lenses. There are two ways to shoot star trails. One way is to shoot one really long exposure (using bulb mode on your camera and a shutter release). The other way is to shoot a lot of shorter exposures, and stack them together in a program like StarStax or Photoshop (using the lighten blend mode). I prefer the latter method as it allows for easier correction of things like planes and satellites that can ruin your trails. A good base for starting your trails is f/4, ISO 1600, and 30 seconds, regardless of lens. I find this usually gives me the right amount of stars. Too many and they get muddled, and too few and you lose the effect. Where focal length matters here is in how long you shoot - the longer the focal length, the more the stars appear to move during your shot, so a longer focal length needs a shorter overall exposure time, whereas a shorter focal length needs a longer overall exposure time. For instance, on a 16mm lens, an hour or more is usually required to get enough movement in the stars. At 200mm, I can get enough movement in just a few minutes.
Nightscapes: The guidance really depends on your subject. Most commonly, you'll want to follow the Milky Way guidance, but it really depends on what you are trying to do.
Important: the guidance above around focal length and exposure time is for full-frame cameras, such as the Canon 5d, 6d, Nikon D810, etc. If you are using a crop sensor (also known as APS-C), you need to multiply your focal length by your crop factor. Canon crop factors are 1.6, so your 10mm lens on a crop sensor is actually a 16mm full frame equivalent (10 x 1.6 = 16). Different cameras have different crop factors, so research this before you go into the field. Some phone apps can also help you with these calculations.
As you take shots, be sure to review them on your LCD from time to time for sharpness. Also, it is essential that you look at the histogram on your LCD to judge whether the image is bright enough or not. Your LCD is not a reliable means of judging brightness, because as your eyes adapt to the dark, your bright LCD will look amazingly bright and fool you into thinking your image is brighter than it really is. Turn on histogram display on your LCD so you can verify that the image is well exposed. You are looking for a histogram where the brightness is not slammed against the left (dark) side - if you see this, increase your ISO, exposure length, or aperture size until you see those lines pull away from the left side. I actually suggest exposing to the right (ETTR) if you are able.
What do I do with the images when I get them home?
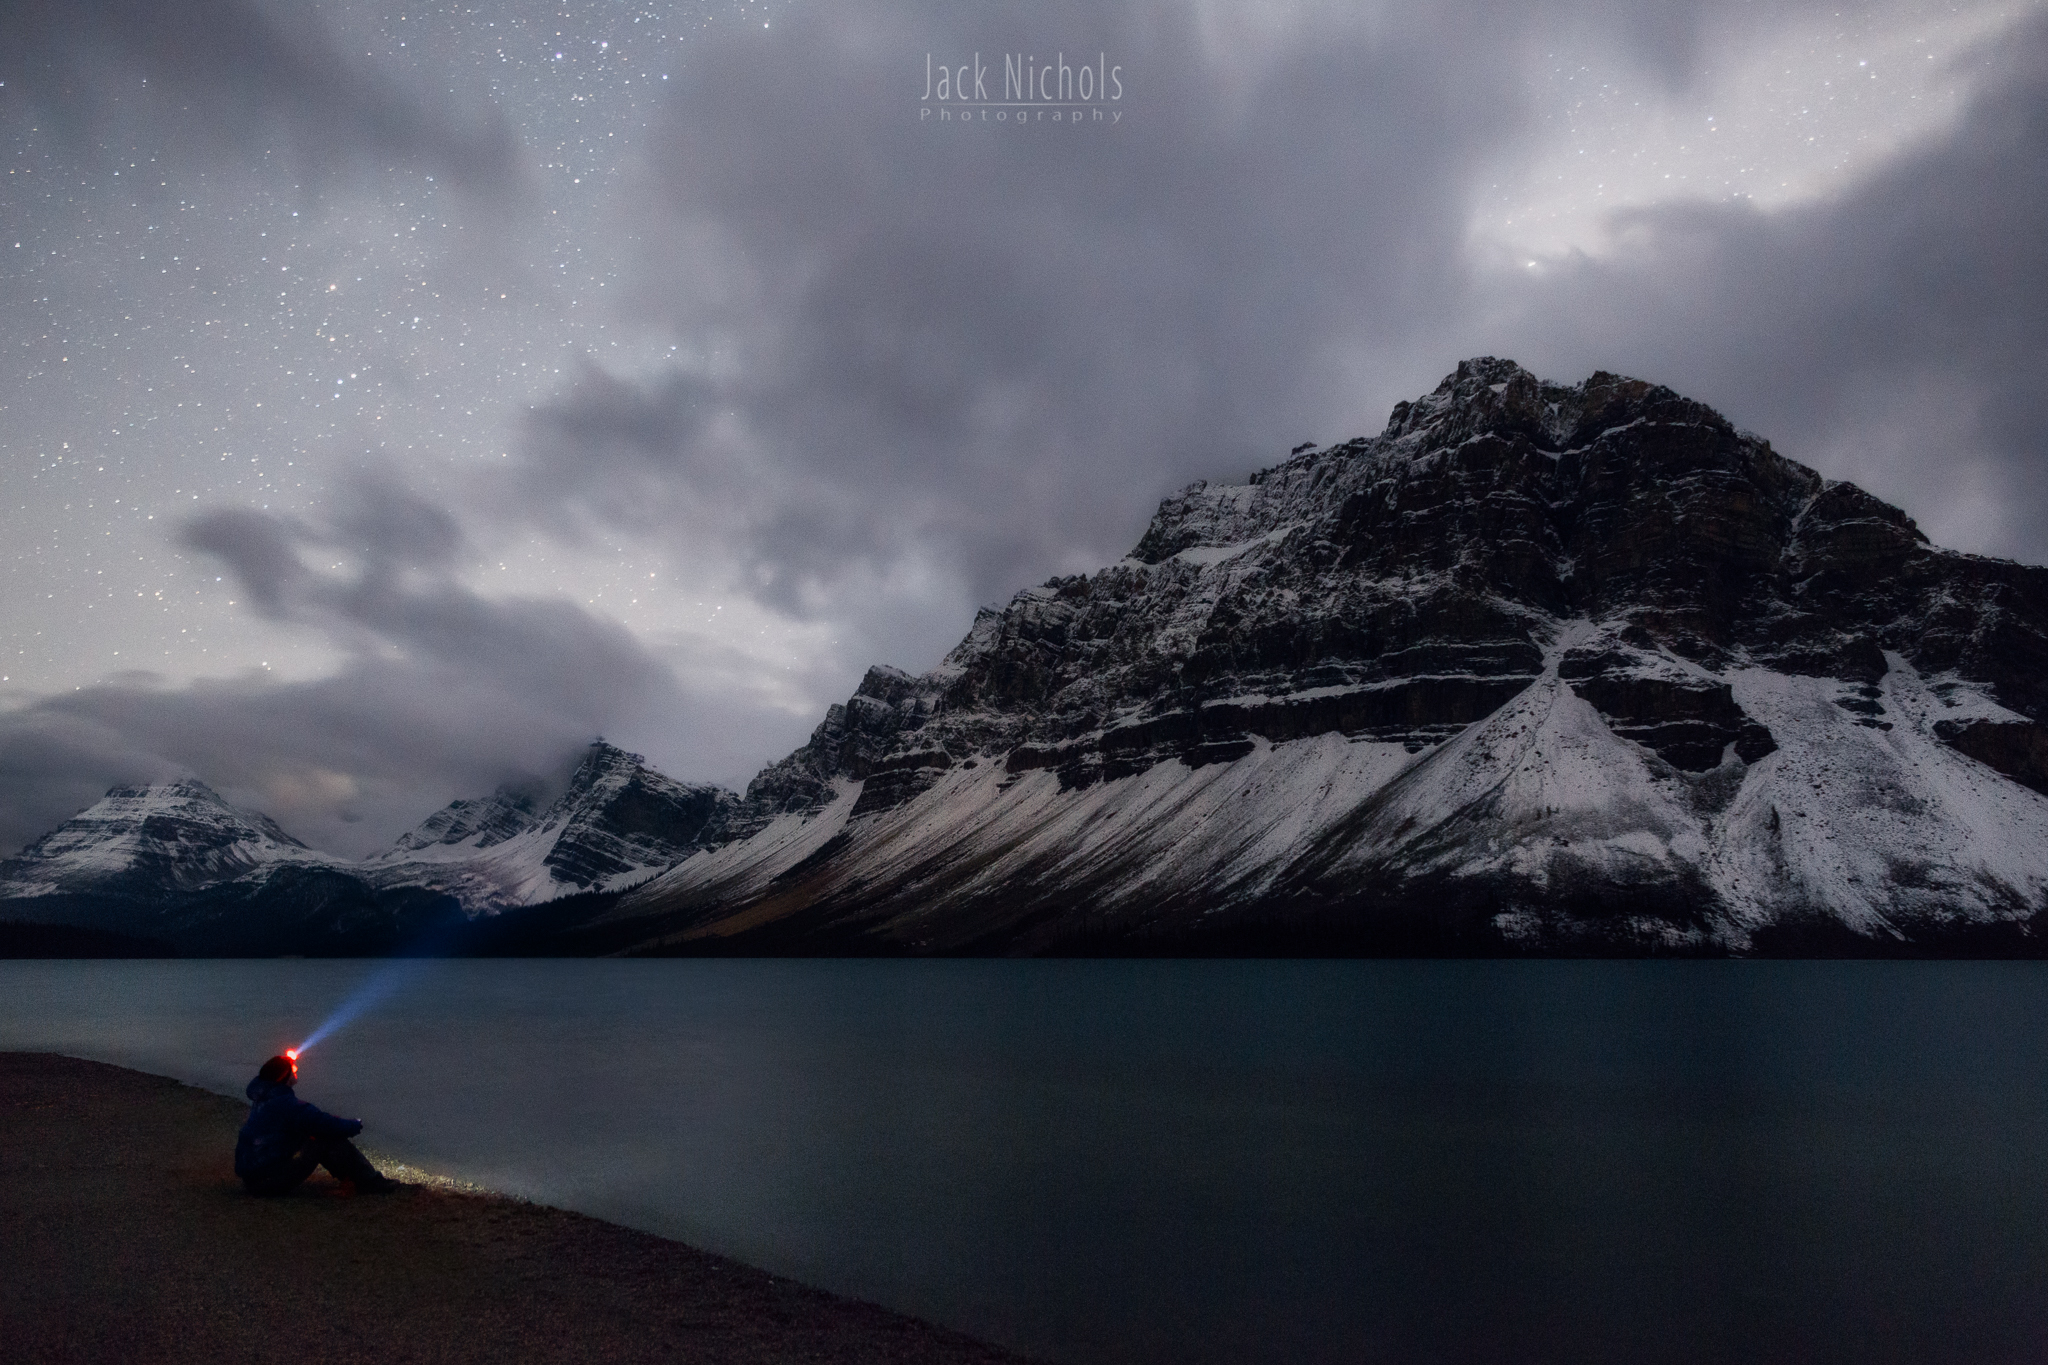
Nightscape example (Bow Lake, Banff National Park, Alberta)
Rarely do night sky images look good straight out of the camera. Most of the time, they are lifeless and flat, and the white balance is frequently wrong. You will need to post-process them to bring out their true potential.
Start by reading the article I wrote about post-processing Milky Way. This should answer many of your questions, especially about Milky Way.
One challenge you will likely find is managing noise. When you are shooting night sky, you are often working at very high ISOs, which can amplify the noise that appears in your images. This can be made worse by a variety of other factors, including warmer temperatures, slow lenses, older camera bodies, and more. There are a lot of different strategies for managing noise, but to get started, try working with what you have. Lightroom has a de-noise panel that is a great place to start. Photoshop has tools for this as well. The Nik Collection is now free, and offers a program called Dfine that works great for a lot of situations.
Outside of that, some other tips:
Aurora white balance: white balancing aurora can be tricky. The natural colors of the aurora are green and purple/pink, not yellow and red. Additionally, snow on the ground (often found near aurora) will confuse your camera's white balance calculations. Try manually setting a white balance is around 3300K to 3600K.
Aurora highlights: with very bright aurora, it's easy to blow the highlights, especially on the green channel. This is especially true if your first instinct is to push the contrast as far as it can go. Go easy on the contrast, and watch your histogram in the field.
Star trails: I prefer shooting many short exposures and blending them manually in Photoshop. First, make sure you do your white balance adjustments and other adjustments in Lightroom and apply them to all of the images in your series. Then, select all your photos, and right click -> Edit In -> Open as Layers in Photoshop. After Photoshop opens, select all of the layers and change their blending mode to "Lighten". You can now clone out imperfections in each layer, or merge them all into one and continue processing.
Post-processing night sky is a huge topic with a lot of room for creativity. Don't be afraid to experiment!
What next?
Hopefully this article gave you the inspiration and some of the tools needed to get started with night sky photography! If you'd like to learn more, check out my new book The Complete Guide to Milky Way Photography, and subscribe to my mailing list to get notified when I share new articles.